20 HP
Bovaird & Seyfang
Mfg. 1898
Bradford, Pa.Also available is a 4 hour long VHS video of the entire restoration project. It includes getting the engine, tearing the engine down, making and machining parts, pouring babbitt, assembling the engine, and running her for the first time. If you are interested in a video contact me at the e-mail address at the bottom of this page...
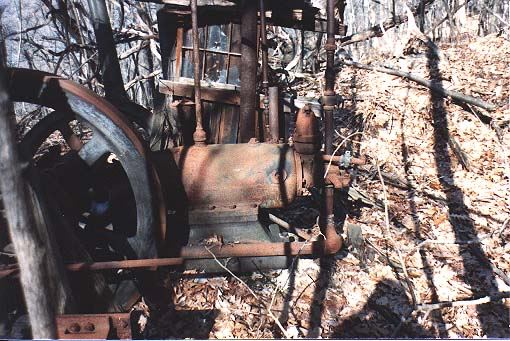
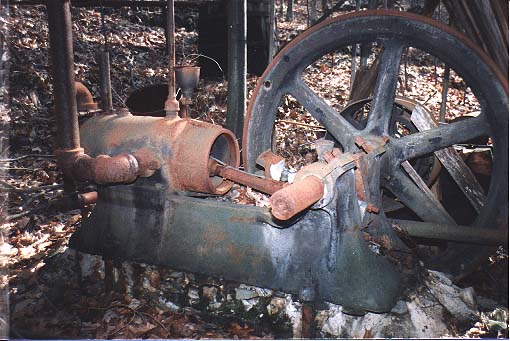
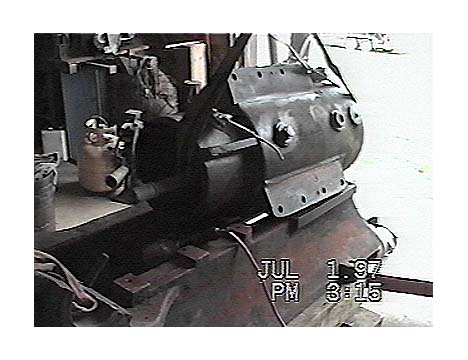
Below are some pictures of an engine (I purchased) when it was still on its original mount. There is a long story on the flywheel that is off the engine and leaning on one of the building walls. The engine is a single valve Bovaird & Seyfang and if you look close you can see the valve on the nose of the cylinder. As I get more pictures I will put them on the homepage.
Be sure to check out the Single Valve drawing and explanation for the Bovaird & Seyfang...
See Page 2 , Page 3 , Page 4 of the Bovaird & Seyfang Restoration
click on the thumbnails for a larger image
Look at this picture for the flywheel leaning on the wall....


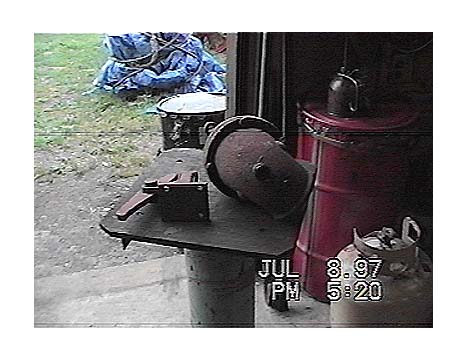
The following is a picture of the B &S muffler....

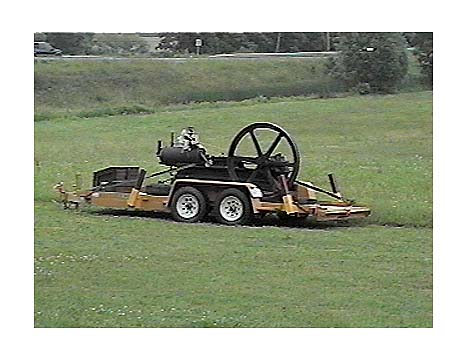
The second trip to Pa. to get all the big pieces....

One flywheel went into my pickup.....

The base and cylinder along with the other flywheel and clutch pulley went on my friends trailer....

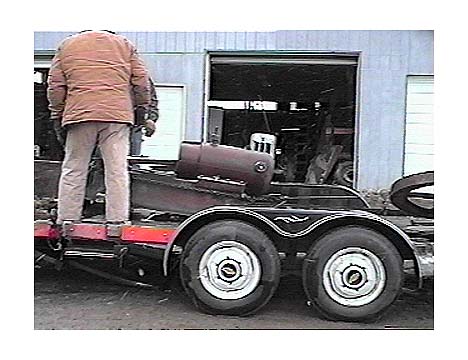
The Bovaird's new home in Pavilion....


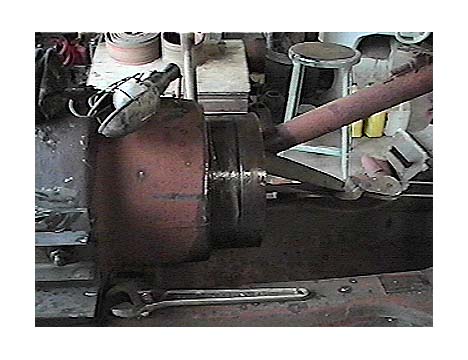
Well I have finally started to work on the Bovaird & Seyfang real hot and heavy now. The following are some pictures of the progress I have made.
The Bovaird & Seyfang makes it into the shop. I started to prepare the cylinder so I could press the piston out...

The piston here is shown in the position it was stuck in...

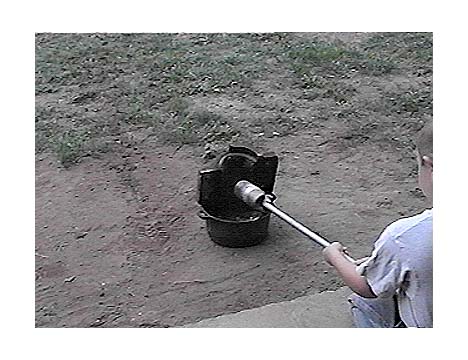
Before I could start pumping grease into the cylinder I had to close off all the ports. Here you can see 2, 1/2 inch thick plates bolted on where the valve chest mounts on the front of the cylinder....

I filled the cylinder bore up with wood scraps and then started pumping grease into the cylinder through the hot tube hole. It didn't take too long and we had some movement. Here you can see the piston is starting to come out the back of the cylinder....

Making some real progress now....
Can you believe there is a whole barrel of grease in that cylinder....

In this next picture I have removed all the grease and have gone to the threaded rod method of pushing the piston out. I put a steel plate up against the piston and a 4 X 4 between the piston and the 2 steel plates. This took a lot of wrenching but it moved the piston quite well....

Progress is being made and then the piston comes all the way out....


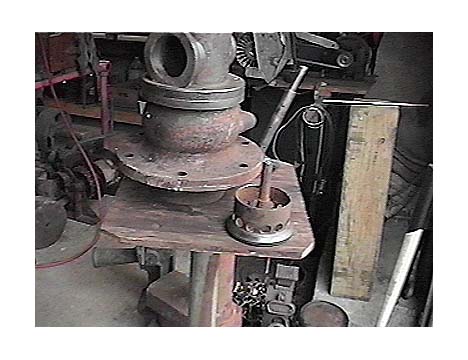
These next 4 pictures are of the cylinder in a few different stages of the work...


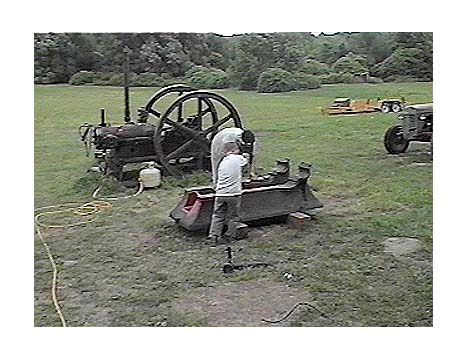
I couldn't pass up filming the Dempster & Comstock on the trailer through the garage door while I was filming the Bovaird & Seyfang....
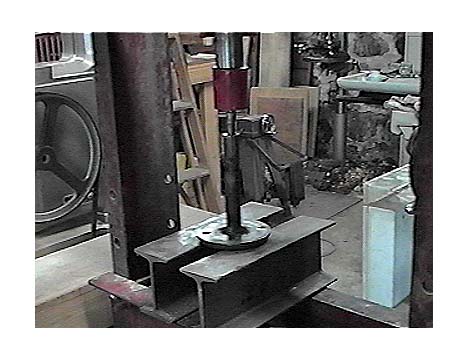
My oldest son has been helping me out on this project and here he is pressing the wrist pin out. It took the two of us and a lot of grunting to get the piston and connecting rod up into the press....


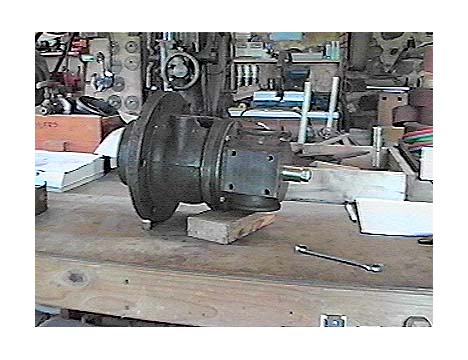
These next 4 pictures are of the exhaust valve, intake valve, check valve, and rocker arm....


This is a reproduced tag I had made up that turned out pretty good. I just layed it on the cylinder to see what it would like on the engine....

Here I am pressing the exhaust valve stem out of the all brass intake valve....

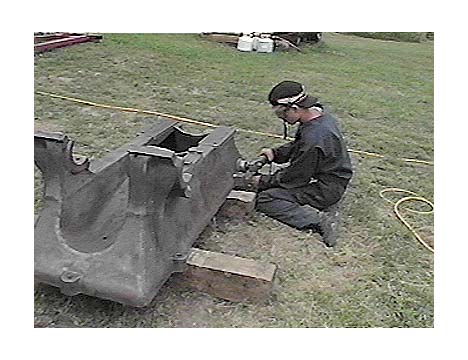
These next 3 photos show the exhaust valve in the lathe getting trued up and a new center hub hole bored. To get the valve chest apart safely I had to cut the valve stem with the torch.


The base for the Bovaird & Seyfang gets moved outside where some cleanup can be done before priming....

My 2 sons help out quite a bit down the shop and here you can see them melting out the babbit from the bearing caps...


Work now starts on cleaning the base getting it ready for primer...


The first couple of applications of primer go on with a brush and then the primer will be sprayed on and sanded between coats....


The primer is now drying, what is that in the back ground? Could it be a 40 HP Buffalo Olin? I couldn't pass up a couple of photos of the Olin...


Checking the fit of the rebuilt exhaust valve in the valve chest...

This is the section of the valve chest where the gas valve lives. The seat hasn't been ground yet in this photo...

In the lathe is a new flat face gas valve that I had to make from scratch. I couldn't save the original Brass one...


This is a little brass bushing that has a spring under it that pulls the exhaust valve shut. The intake valve has its own return spring. The operation of the valves will become clearer when I get photos of the cam, pushrod, and rocker arm up on this homepage...

The valve chest is almost completed. Here it is all assembled...

Continued on Page 2 , Page 3 , Page 4 of the Bovaird & Seyfang Restoration

 Website designed and maintained by , Pavilion, NY.
